Visualize results/graphical access
DelftBlue has two visualization nodes available for running interactive visual applications via a VNC session: visual01 and visual02. These nodes each have a Quadro RTX 4000 graphics card providing hardware accelerated rendering for openGL applications.
A visual software stack has been added with open-source software capable of rendering and displaying X11 or openGL output. When starting the instructions below, a slurm job is scheduled and a VNC server is started on the visual node. This VNC server will provide you an desktop on the visual node, in which you can start your graphic applications.
Below we describe two ways (variants) of getting a desktop session on DelftBlue. The first is much easier, the second may give more flexibility and performance in case the browser-based method does not fit your needs.
Variant 1: Browser-based desktop session
- Go to the DelftBlue OpenOnDemand portal and sign in with your NetID and password.
- From the menu "Interactive Apps" select "DelftBlue Desktop".
- Fill in your account and other usual slurm settings (don't forget to request memory!), and click ""Launch". The interactive job will enter the queue as normal, and once it starts you will be able to connect to the desktop from within the browser.
- You can now open a terminal, load modules the standard software stack and
visual, and continue from there with your favorite visualization software.
For more information on getting better performance (e.g., hardware rendering), see below.
Variant 2: Manually setting up a VNC desktop
Starting a VNC session
Access a login node and start by loading the current software stack:
Then load the module for the vnc_desktop script (see below):
If the slurm module is not loaded, please load that module as well:
Now you can start a VNC session by launching the vnc_desktop script and request the desired resources:
This script attempts to start a VNC server on one of the visual nodes with 2 cores (cpus-per-task) and a maximum of 2GB per core (mem-per-cpu). These are the minimal requirements to have a useful VNC session. If successful, it returns the name of the node and the VNC session-id in the console. The 1h (one hour) is the amount of time you reserve for the interactive visual session. The maximum reservation time is 4h.
VNC password
Upon first launch of the script, the user needs to set a password for the connection with the VNC server. The script will warn you if you haven't done so, and will provide you with an opportunity to set this:
$ vnc_desktop 1h -- --cpus-per-task=2 --mem-per-cpu=2GB --account=research-faculty-department

You will have to set a password to your VNC session.
A "Full access" password is required, a "View only" password is optional.
Please run: vncpasswd

$ vncpasswd
Using password file /home/<netid>/.vnc/passwd
Password: ********
Verify:   ********
Would you like to enter a view-only password (y/n)? n
what is <netid>?
the <netid> is a placeholder where your netid will be shown
With the password set, rerunning the script will start the VNC session:
$ vnc_desktop 1h -- --cpus-per-task=2 --mem-per-cpu=2GB --account=research-faculty-department
Reserving a GPU node (partition "visual")

SLURM job ID is 912918
Waiting for job to start running on a node
We got assigned node visual01, waiting for output...
Waiting until VNC server is ready for connection...

VNC server visual01:1 ready for use!
VNC client
Next, a vnc-client is needed to connect to the visual node and obtaining a desktop. There is a wide variety of packages available but TurboVNC, TigerVNC, TightVNC and Remmina are good choices.
Note
TigerVNC can be downloaded as a portable executable for Windows, and does not require installation or administrator privileges to run. You can find the latest version here. The last tested version for Windows 10: vncviewer64-1.12.0.exe
The script itself suggest commands to connect to the desktop via ssh, for instance for Linux:
Choose one of these options to run the VNC client *on your own workstation/laptop*:
1. (Linux/macOS) Automatic tunneling for a VNC client that supports the -via option:
$ vncviewer -via <netid>@login.delftblue.tudelft.nl visual01:1
2. (Linux/macOS) Manual SSH tunnel setup and VNC client launch:
$ ssh -L 5901:visual01:5901 <netid>@login.delftblue.tudelft.nl
(On a different terminal):
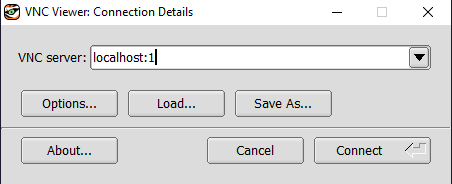
$ vncviewer localhost:1
Graphically, Option 2 means opening a VNC client window:
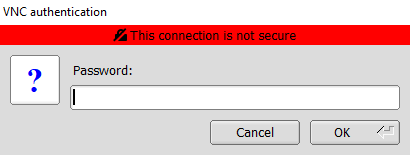
You should be now prompted with your VNC password (not your NetID password!):
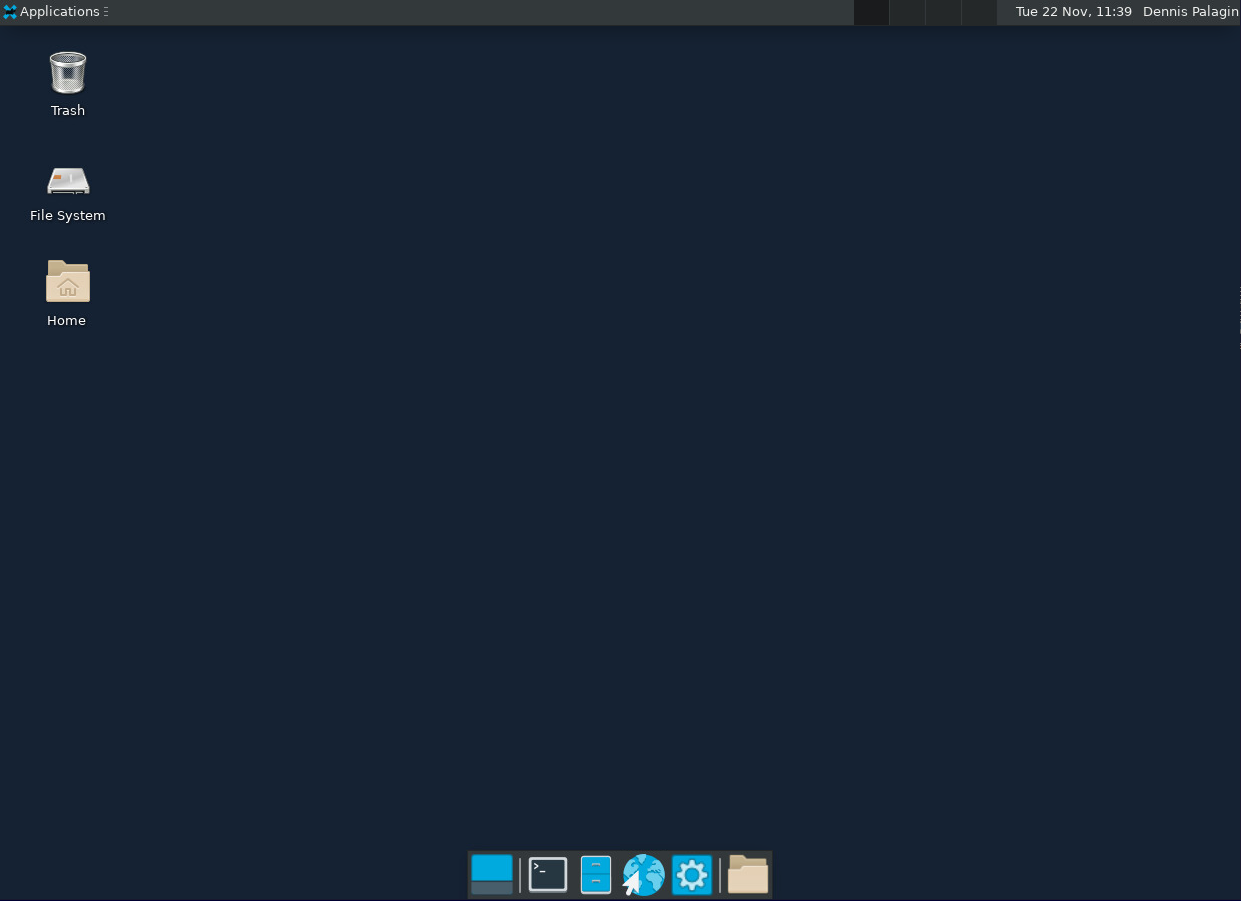
Finally, we have our remote desktop up and running:
Option 1 is the preferred way if the vnc client has the -via option. BTW, these methods require an eduVPN connection to the TU Delft or a proxy setup.
For windows the script recommends setting up a tunnel with PuTTY tool plink.exe:
3. (Windows) Manual SSH tunnel setup with PuTTY's plink.exe and VNC client launch:

  C:\> plink.exe -L 5901:visual01:5901 <netid>@login.delftblue.tudelft.nl
  Start -> <your vncviewer> -> localhost:1
But if the VNC client has a 'via' option, it is better to use that instead of building a tunnel. Again, an eduVPN connection is required.
Starting a graphic application
For this example we start MATLAB on the desktop. When you're accessing the desktop via a VNC client you can start MATLAB with software openGL support:
Show the openGL information in MATLAB:
>> opengl info
                          Version: '2.1 Mesa 17.1.3'
                           Vendor: 'Brian Paul'
                         Renderer: 'Mesa X11'
                   MaxTextureSize: 16384
                           Visual: 'Visual 0x68, (RGBA 32 bits (8 8 8 8), Z depth 16 bits, Hardware acceleration, Double buffer, Antialias 0 samples)'
                         Software: 'true'
             HardwareSupportLevel: 'none (known graphics driver issues)'
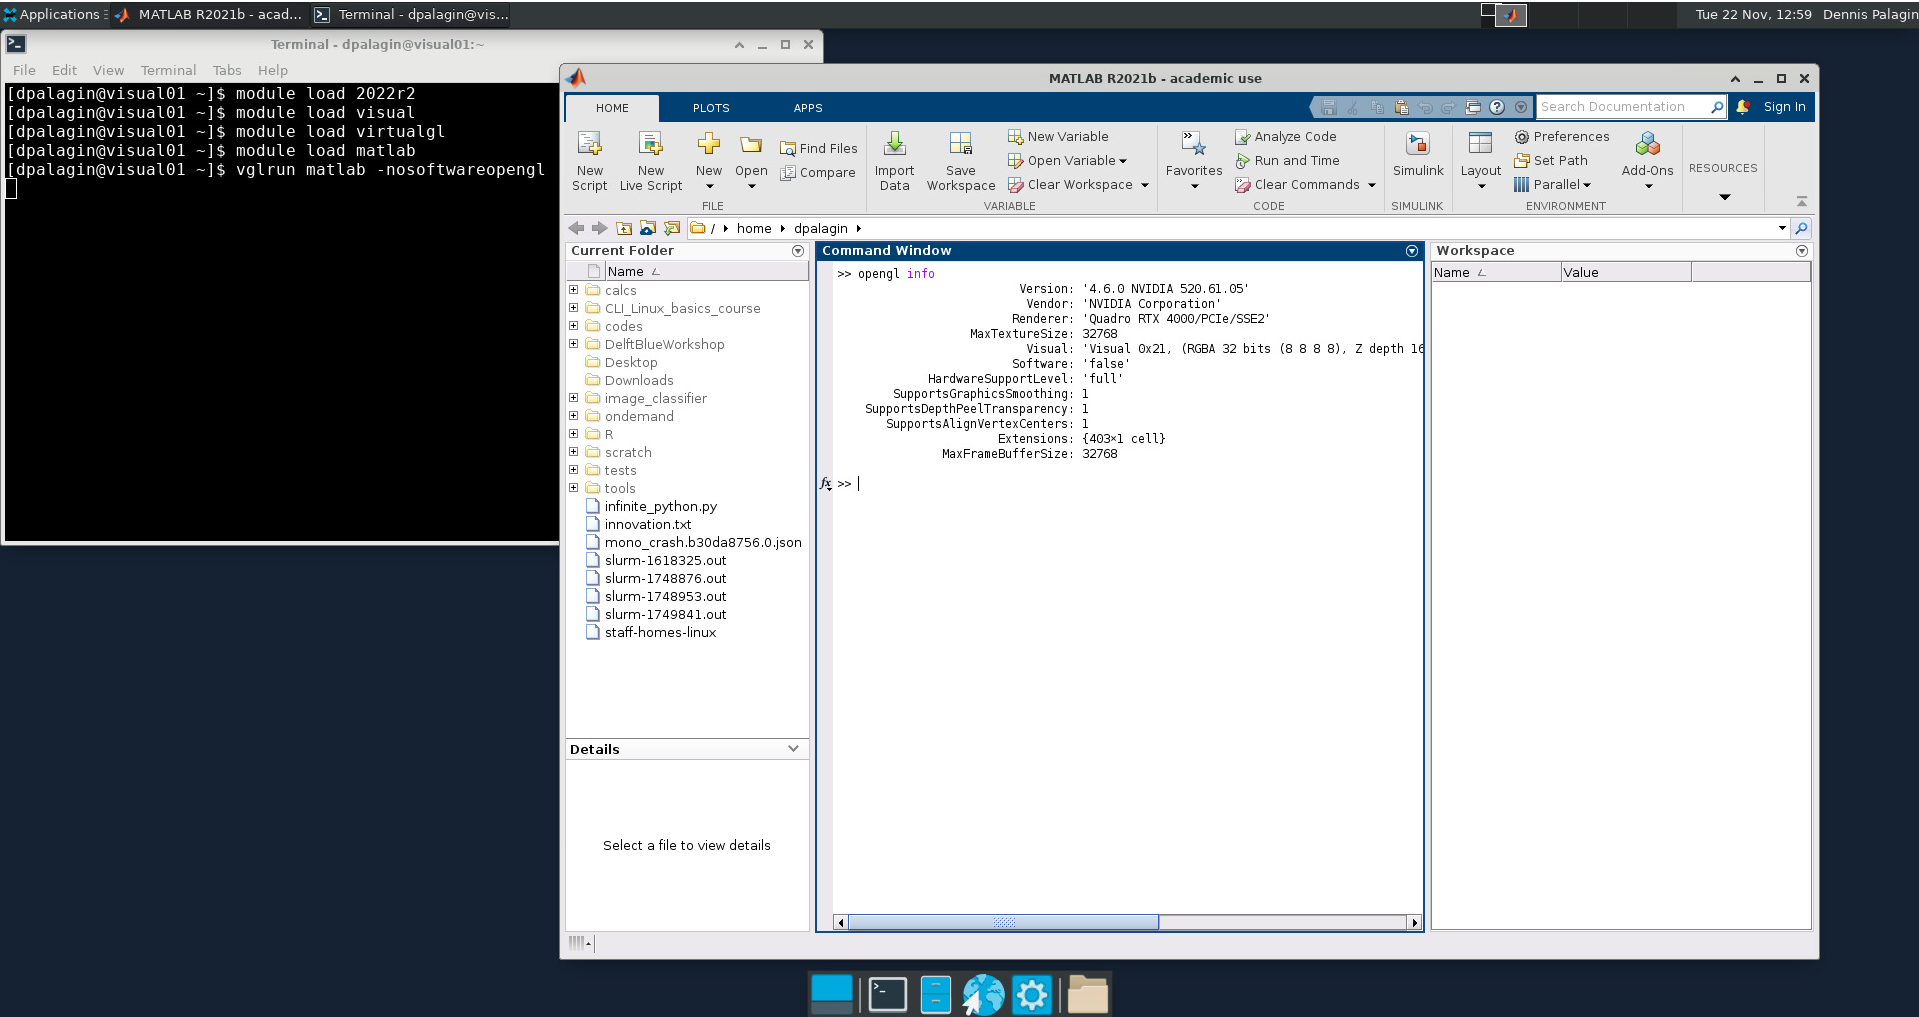
For graphic heavy operations you can use the GPU hardware openGL support using vglrun:
Note
The -nosoftwareopengl argument is a MATLAB option.
Check https://wiki.archlinux.org/title/VirtualGL for more information on vglrun. Also check vglrun --help.
>> opengl info
                          Version: '4.6.0 NVIDIA 520.61.05'
                           Vendor: 'NVIDIA Corporation'
                         Renderer: 'Quadro RTX 4000/PCIe/SSE2'
                   MaxTextureSize: 32768
                           Visual: 'Visual 0x21, (RGBA 32 bits (8 8 8 8), Z depth 16 bits, Hardware acceleration, Double buffer, Antialias 8 samples)'
                         Software: 'false'
             HardwareSupportLevel: 'full'
So, what you should see is the following:
Ending a session
When finished, the VNC desktop can be closed by logging out via Applications -> Log Out .